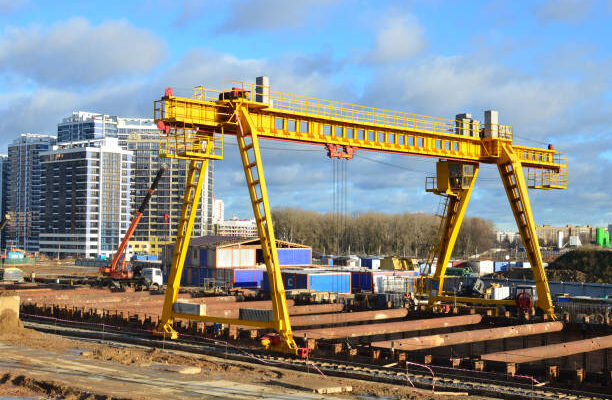
DIY projects have gained immense popularity in homes and workshops, particularly when it comes to solving practical challenges like handling heavy objects. If you frequently need to move large equipment or materials, constructing a portable gantry crane can be an efficient and cost-effective solution. Here’s a step-by-step guide to help you design and build one tailored to your needs.
Why Build a Portable Gantry Crane?
A portable gantry crane is a mobile lifting device designed to handle heavy loads, such as machinery, construction materials, or large tools. Unlike stationary cranes, it offers greater flexibility, allowing you to move it around your workspace with ease—ideal for confined or multi-use areas.
Read More: Hire an Expert Wix eCommerce Store Website Designer on Fiverr: Elevate Your Online Presence
Building one yourself provides several advantages:
– Cost Savings: DIY construction can be significantly cheaper than buying a commercial crane.
– Customization: Design it to fit your specific requirements, including load capacity and workspace dimensions.
– Practicality: Use readily available materials, and adapt the design to suit your budget and needs.
Materials and Tools Needed
To build a portable gantry crane, you’ll need the following:
Materials
1. Steel or Aluminum Pipes: For the frame; choose materials with adequate strength for your load requirements.
2. Crane Hoist: Manual or electric, depending on your preferences.
3. Pulley and Rail System: To allow the hoist to move along the crossbeam.
4. Fasteners and Bolts: For assembling the frame and securing components.
5. Wheels with Locking Mechanisms: For mobility and stability.
6. Anti-Rust Paint: To protect metal parts from corrosion.
Tools
– Saw (for cutting pipes)
– Drill (for making bolt holes)
– Wrenches or spanners
– Measuring tape
– Protective equipment (gloves, goggles)
Step 1: Design Your Gantry Crane
Begin by planning the crane’s structure based on your workspace and intended load.
-Frame Design: Typically an inverted “U” shape, consisting of two vertical supports and a horizontal crossbeam. Ensure the frame height and crossbeam length accommodate the items you plan to lift.
– Load Capacity: Use materials strong enough to safely handle the maximum expected load.
– Mobility Features: Incorporate wheels for movement and locking mechanisms for stability during use.
– Lifting System: Plan a rail and pulley system to allow the crane hoist to move freely along the crossbeam.
Step 2: Assemble the Frame
1. Cut the Pipes: Measure and cut steel or aluminum pipes to the required lengths for the vertical supports and crossbeam.
2. Build the Frame: Use bolts and fasteners to assemble the pipes into an inverted “U” shape. Ensure the structure is stable and properly aligned.
3. Attach the Crossbeam: Secure the crossbeam at the top of the vertical supports and install the rail system. Test the rail to ensure it allows smooth movement for the hoist.
Learn More: Unbelievable Transformations: How These Products Changed Lives!
Step 3: Install the Lifting System
1. Attach the Pulleys: Fix pulleys along the crossbeam to guide the hoist.
2. Mount the Hoist: Secure the crane hoist to the pulley system. Ensure all connections are tight and capable of withstanding the maximum load.
3. Test Movement: Manually slide the hoist along the rail to verify smooth operation and locking capabilities.
Step 4: Add Wheels and Locks
1. Install Wheels: Attach wheels to the base of the vertical supports for mobility. Choose wheels that can support the weight of the crane and its load.
2. Add Locking Mechanisms: Install locks on the wheels to stabilize the crane during operation.
Step 5: Finishing Touches and Testing
1. Inspect Fasteners: Ensure all bolts and joints are securely tightened.
2. Apply Anti-Rust Paint: Coat the metal components to protect against corrosion and extend the crane’s lifespan.
3. Conduct Load Tests: Gradually increase the weight to confirm the crane’s load capacity and stability. Address any issues before regular use.
Why Build a DIY Gantry Crane?
A portable gantry crane enhances your efficiency in handling heavy objects at home or in a workshop. Whether it’s moving heavy tools, machinery, or furniture, your DIY crane will provide reliable assistance. Moreover, the flexibility to customize its features makes it a versatile addition to your workspace.
By following this guide, you’ll create a cost-effective and practical tool to streamline your heavy lifting tasks, all while saving money and gaining a rewarding DIY experience. Learn More


